- inspiredpotentials@gmail.com

Fermented Foods are having a serious moment.
Their resurrection and mind-boggling rise in popularity have a lot to do with digestive support. Fermented foods help boost immunity, fight inflammation, and contain beneficial bacterial created through a process called lacto-fermentation.
Lacto-fermentation is a microbial process using beneficial bacteria including Lactobacillus and Bifidobacterium spp. and other lactic acid bacteria (LAB) (commonly known as probiotics), which thrive in an anaerobic fermenting environment.
Recipe: fill jar with berries, pour raw honey in to cover, give it a little stir every day, and when it gets bubbly, use the berries and the syrup to make tasty things even tastier), and a little over two gallons of berries in the freezer, about 15 pounds total.
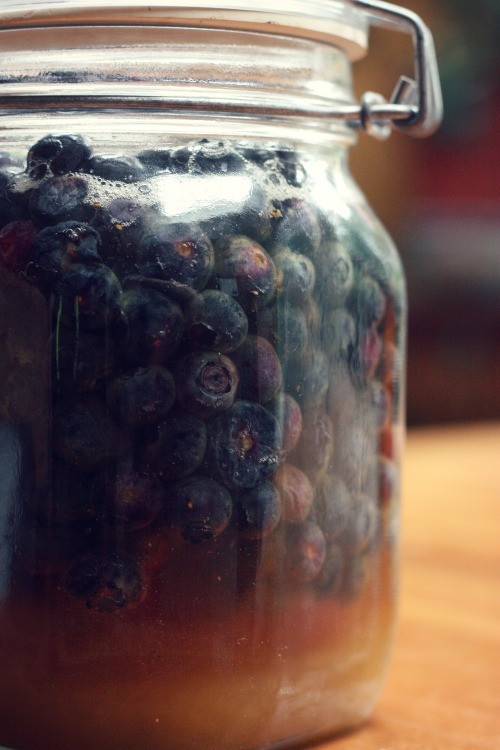
Fermented berries in honey courtesy of This Week in My Kitchen.
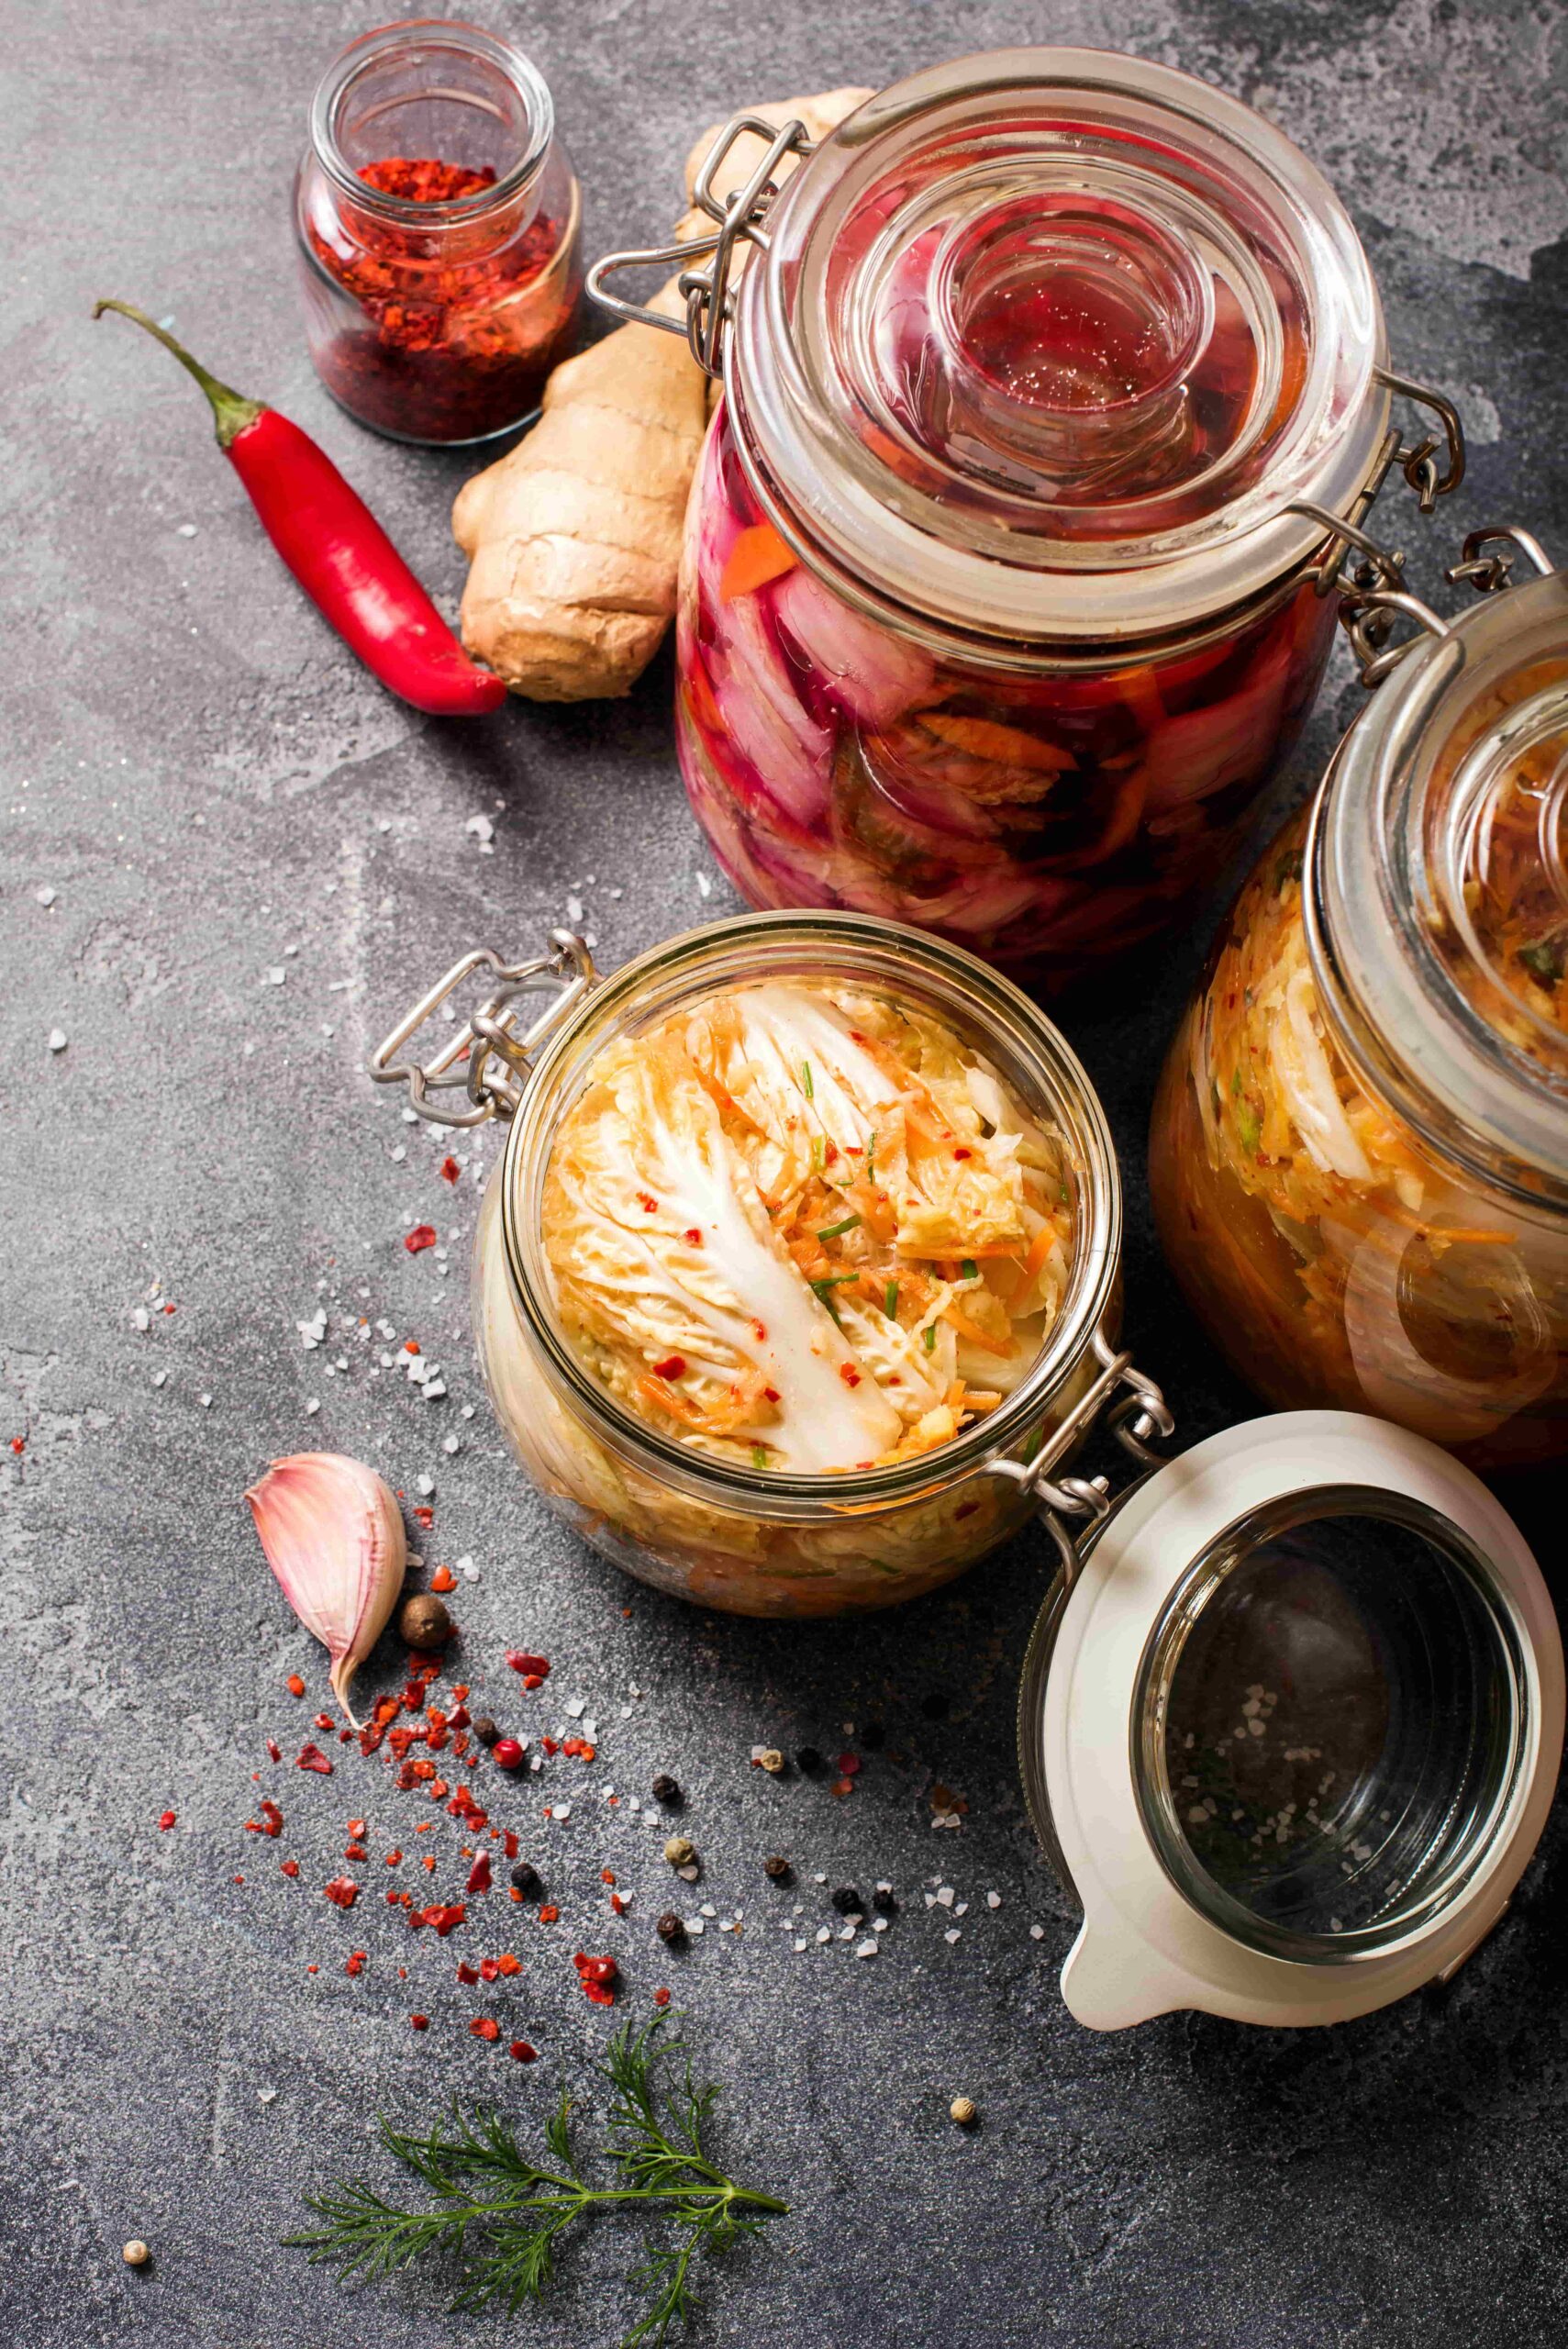
The lactobacillus bacteria, are a category of beneficial bacteria that thrive on sugar and produce lactic acid as a byproduct. This is why lacto-fermented foods taste acidic. Most lacto-fermented foods are nothing more than whole, chopped, sliced or grated vegetables soaked in a brine of salt water stored for a period of time at room temperature.
One of the most important steps in home fermentation is keeping vegetables submerged in a brine to prevent mold or harmful bacteria from growing. The beneficial lactobacillus bacteria are part of an anaerobic category of bacteria, meaning that it doesn’t need oxygen for production. Use these tips to ensure you’re creating an anaerobic environment:
Salt prevents unwanted bacteria from overpowering the lactobacillus. Using salt also helps the vegetables stay crunchy by drawing water out of them. This extracted water can then act as the liquid for the brine.
Make sure your fermentation vessel and weights are immaculately clean. You can easily sterilize them with boiling water or by running them through a cycle in your dishwasher. Then let them air-dry. Choose a glass vessel. Do not use a lid that exposes bare metal to the ferment; it may rust. Select a lid that is ‘lined’ or plastic. Store in a cool, dark place, ideally between 60 and 75 degrees Fahrenheit.
When is Your Ferment Ready for Cold Storage? When you see bubbles and effervescence and your fermented food has a sour (but not rotten) aroma and taste.
If a fuzzy raised, white/blue mold appears on your ferment, throw it out. You’ll have to start over again. Unlike with cheese, you’re not trying to grow mold, and the type of mold that forms on your ferment will not be a type you can or want to ingest. When in doubt, it’s best to stay cautious and start over. Kahm yeast – a milky white substance that appears on the surface – on the other hand, is safe and can be scraped off. Kahm yeast is flat, except where bubbles from when CO2 is trapped. It may have a yeasty smell and look powdery. On the downside, the flavor of kahm can affect the flavor of your ferment so spoon it off.
Makes 16 – 24 ounces (1 – 1.5 pints); Prep time 30 minutes; Ferment 2 – 4 Weeks
Place cabbage in a large bowl. Add 1 teaspoon salt and use your hands to massage cabbage until it begins to soften and release liquid, about 3 minutes. Add remaining vegetables and spices and another 1 teaspoon salt. Wear gloves to prevent staining hands. Continue to massage mixture, squeezing to combine ingredients, 2 to 3 minutes more. Taste mixture and, if desired, add final 1 teaspoons salt. (TIP: You want the mixture to be salt but not quite as salty as seawater.)
When mixture is well combined, begin to spoon it into a 24-ounce glass mason jar or other sterilized glass vessel. After every few spoonfuls, use a wooden tamper to pound mixture tightly into jar. (TIP: tightly pack mixture to eliminate air bubbles.)
Continue to pack and fill vessel until 1 - 1 1/2 inches of head space remains at the top. Pour any liquid from cabbage mixture bowl into jar. You want a thin (about 1/2 inch) layer of liquid on top of kraut. (TIP: Keep kraut below brine. If you don't have enough liquid, add a little purified water. a glass weight can keep kraut submerged.)
Wipe inside of jar to remove any stray cabbage pieces or liquid. Cover jar tightly with a regular or airlock lid. Set jar in a dark, cool place to ferment for 2-4 weeks. Taste each week to check on fermentation process. When fermented to desired taste. place a new lid on jar, label with date and store in refrigerator up to 1 year.

Makes 16-24 ounces (1 – 1.5 pints); Prep 30 minutes; Ferment 2-4 weeks
This kraut makes a delicious condiment for burgers and sausages. Serve it over potatoes, to garnish beef stew or pair with roasted pork.

Makes 24 ounces (1.5 pints); Prep 20 Mintues; Ferment 5-7 Days
For a pretty look, buy small carrots that still have their green tops attached, and trim the tops down to 1/4 to 1/2 inch. These fermented veggies taste great as an addition to a Bloody Mary or veggie tray or on top of a Cuban sandwich. Also, use them to jazz up scrambled eggs, salads, rice, quinoa bowls and tabbouleh.
Dissolve salt in 2 cups cool water to form brine. Place chile flakes and dill in a 24-ounce glass mason jar or other sterilized glass vessel. Cut chard stems into long spears and remove any leaves. Cut 1/4 inch off end of chard stems. (TIP: Measure the height of the jar against the chard stems to ensure they fit with at least an inch or headspace. Remember you'll need to cover the stems with brine.)
Arrange halved carrots and chard stems standing upright in jar, alternating carrot and chard. Cover stems and carrots with the saltwater brine, and cover tightly with a regular airlock lid. Set jar in a dark, cool place to ferment.
Check brine level after a day or two and replenish if needed. If you aren't using an airlock lid, you will need to "burp" your ferment daily by simply loosening the lid and allowing gas to escape. The ferment should expand and release gases if successful. As an extra precaution, you may want to "burp" your ferment over the sink in case it overflows. Glass fermentation/pickle weights can keep chard stems submerged.
Test your ferment after 5-7 days. The vegetables should taste tangy and have a slightly effervescent mouth feel. when fermented to desired taste, place a new lid on the jar, label with date and store in refrigerator up to 2 months.
Makes 1/2 gallon; Prep 25 minutes; Ferment 4-6 weeks
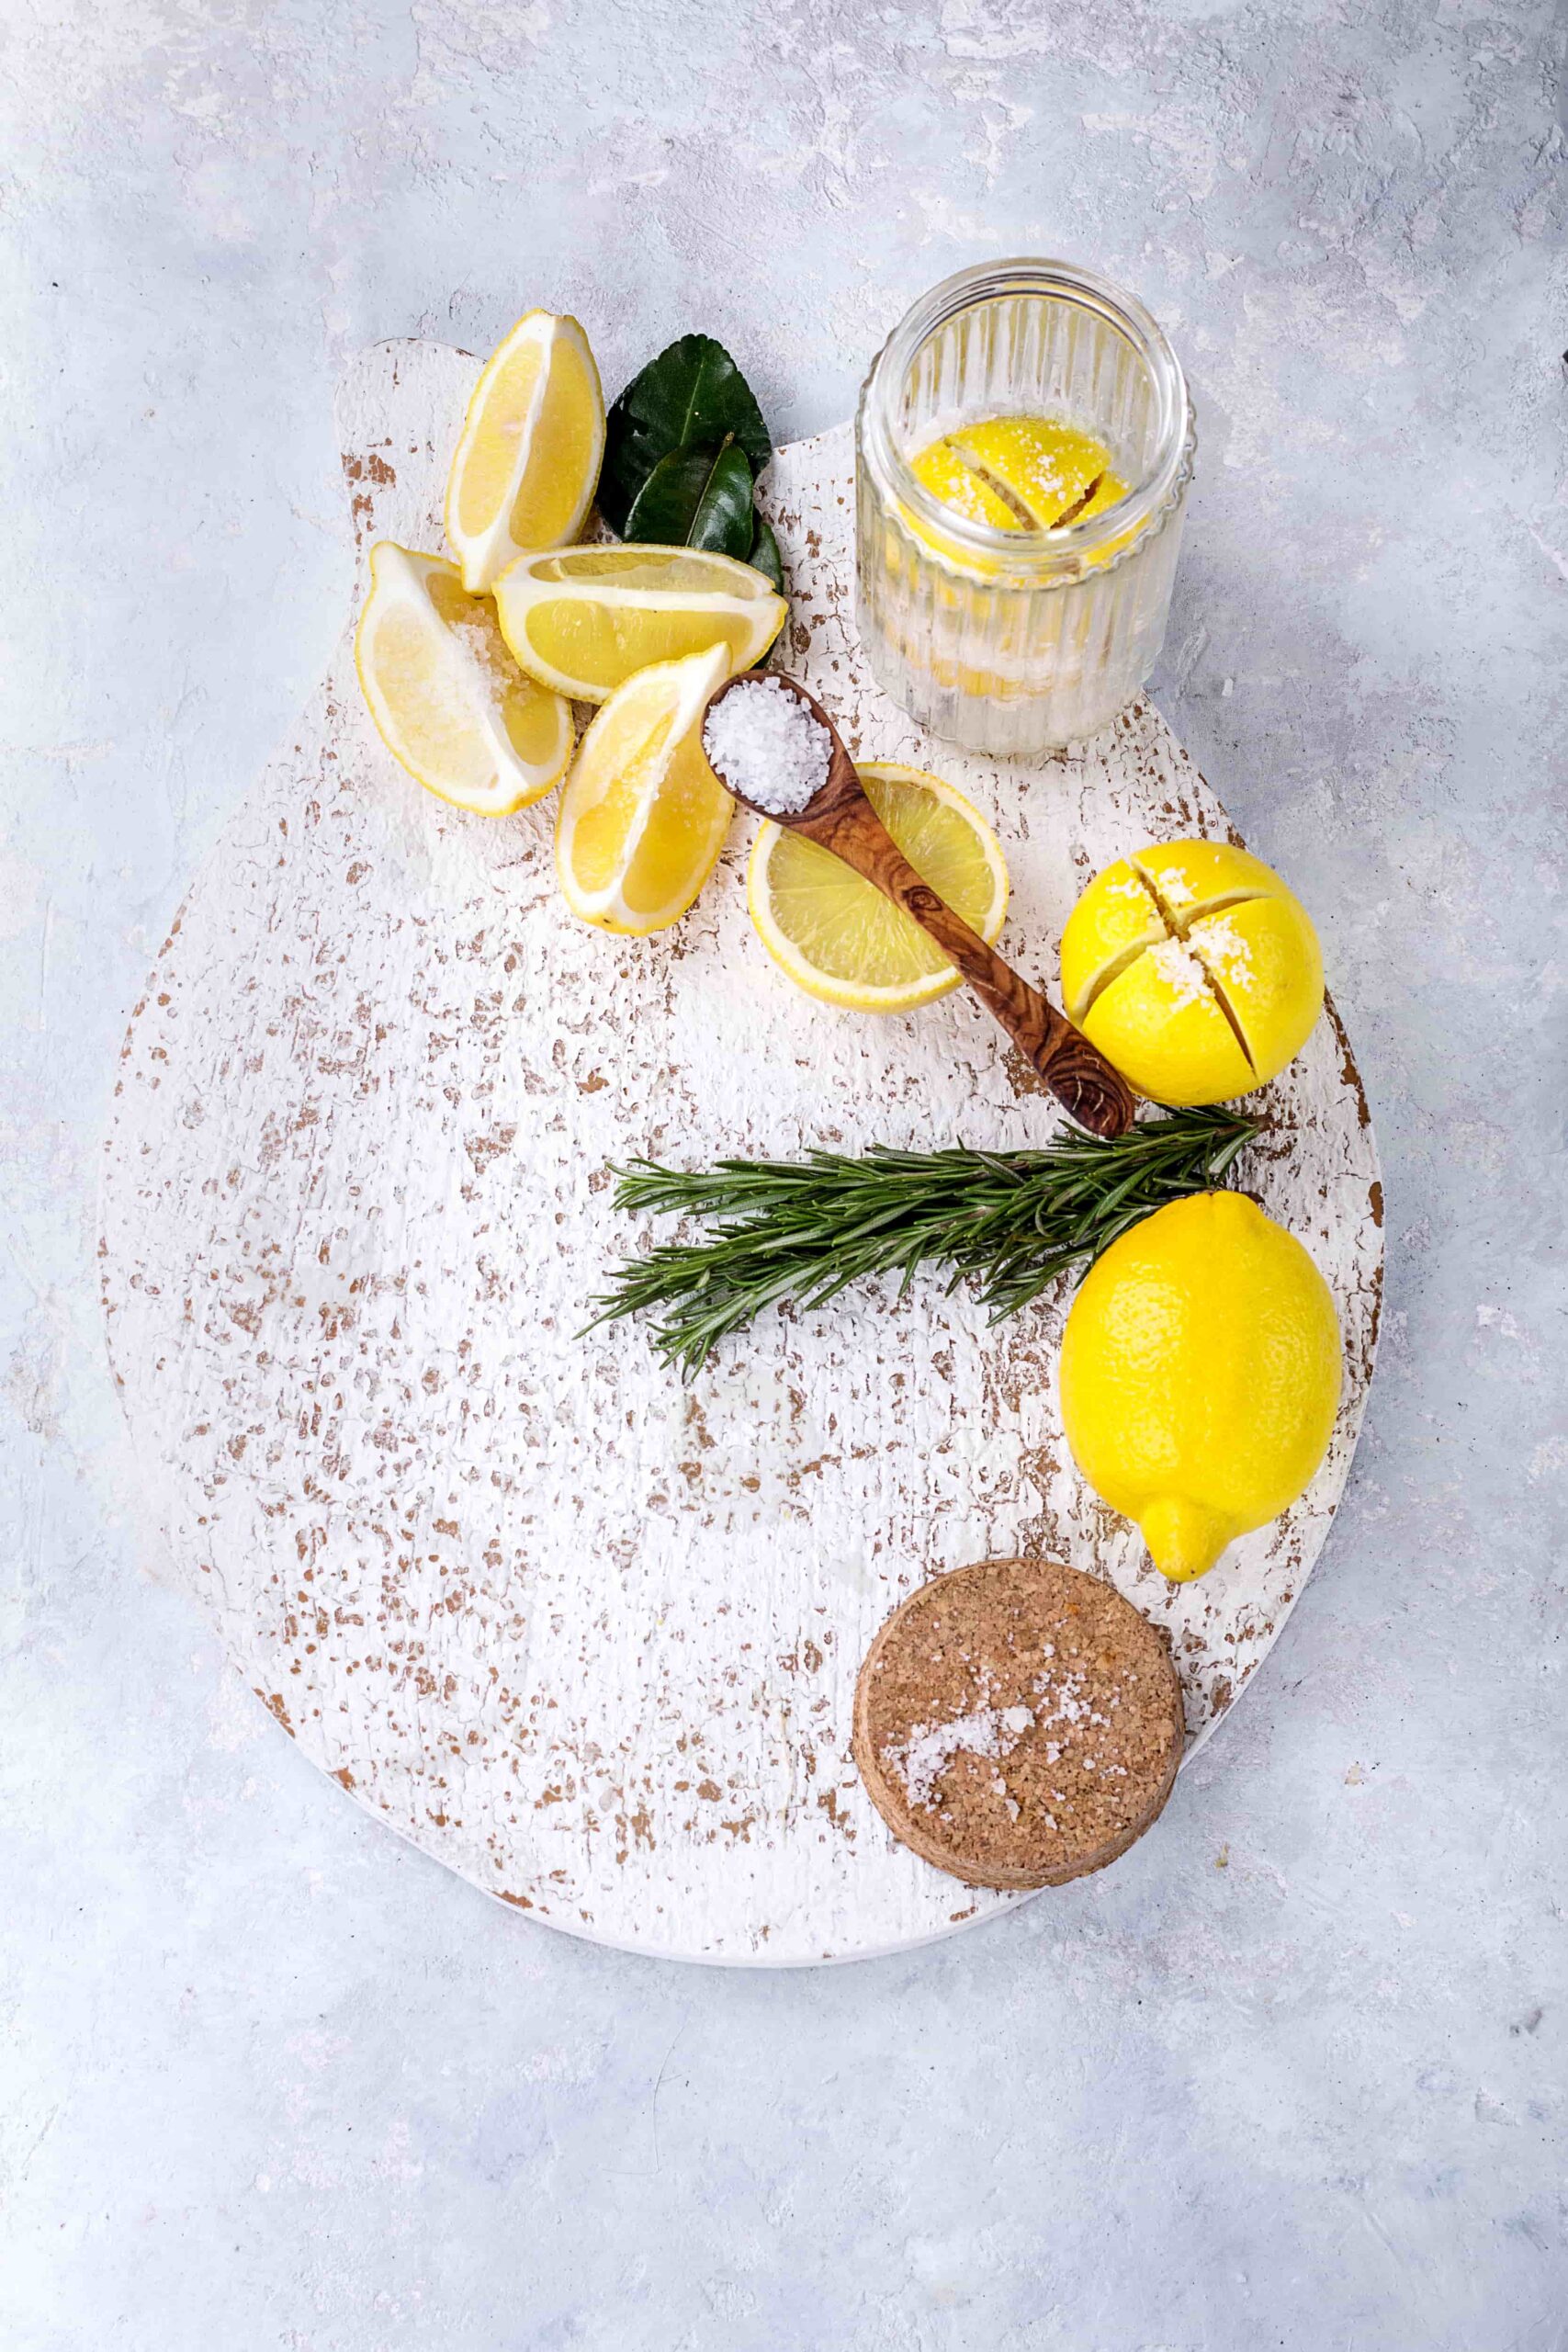
The tangy, sour flavor of preserved lemons is powerful, so a little goes a long way. Be sure to wash the preserved lemons before eating the rind. Discard the salty lemon pulp and slice the rinds for a variety of uses. They add brightness, salt and depth to tagines, stews, grain salads, dressings, relishes, roasted poultry, seafood, marinades, and sauces. Add them to hummus or use as a garnish for labneh (fermented yogurt cheese). They’re also a delicious way to brighten up a stuffing or roasted vegetables. A jar of preserved lemons makes a wonderful gift for foodies!
Add 1 tablespoon salt to bottom of a 1/2 gallon mason jar or other large sterilized glass vessel. Cut a deep cross in five whole lemons from one end to within 3/4 inch of the other end, leaving lemons intact. In other words, cut them in quarters without slicing all the way through.
Over a bowl, sprinkle salt inside each lemon, rubbing salt into lemon pulp. Then reshape lemons and place them inside jar. Using a wooden spoon or tamper, smash the five lemons until they release their juices and soften. This will form the brine. Add cinnamon stick, bay leaf, peppercorns and chile pepper slices. Slice remaining five whole lemons the same way, sprinkling salt inside each one, and add to the jar. Add the 2 tablespoons lemon juice and any remaining salt; then smash lemons some more with wooden spoon. (TIP: If lemons are not fully submerged under the lemon juice brine, add enough salt water to cover and use glass weights to keep them submerged).
Cover jar tightly with a regular or airlock lid. If using a metal lid without a rubber lining, place a layer of parchment between the lid and the jar so the acid in the brine doesn't eat away at the lid and cause it to rust. Allow mixture to ferment in a cool, dark place for 4-6weeks, until lemon rinds are soft enough to bite. When fermented to desired taste, place a new lid on the jar, label with date and store in refrigerator up to 6 months.